
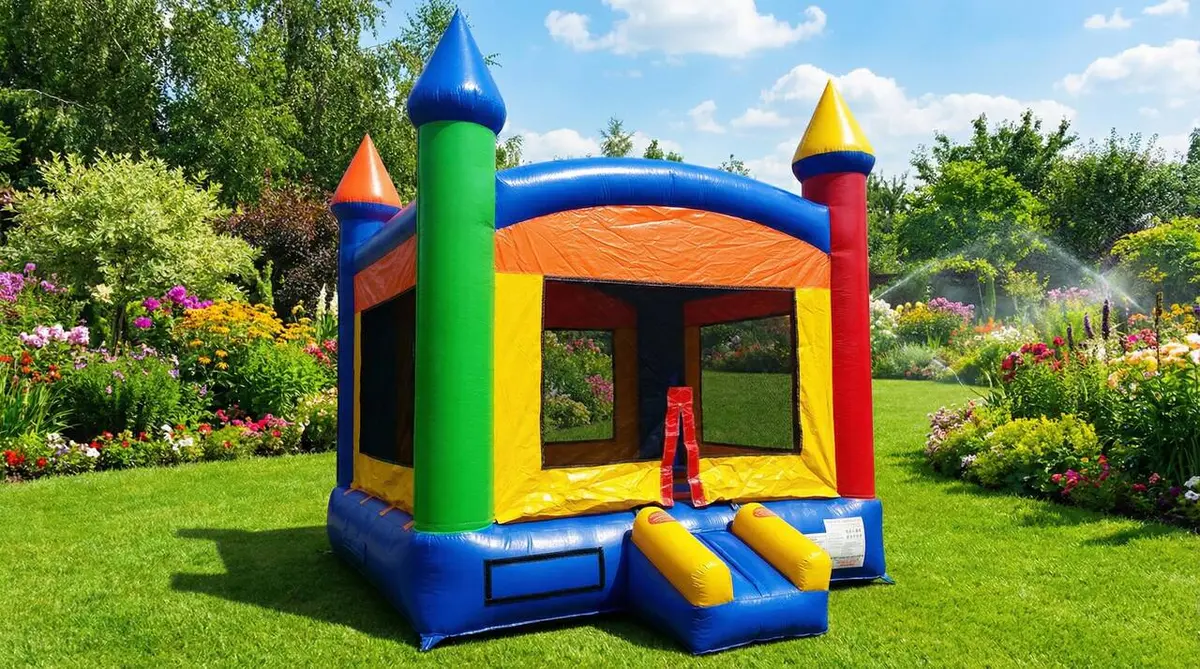
Castle Bounce
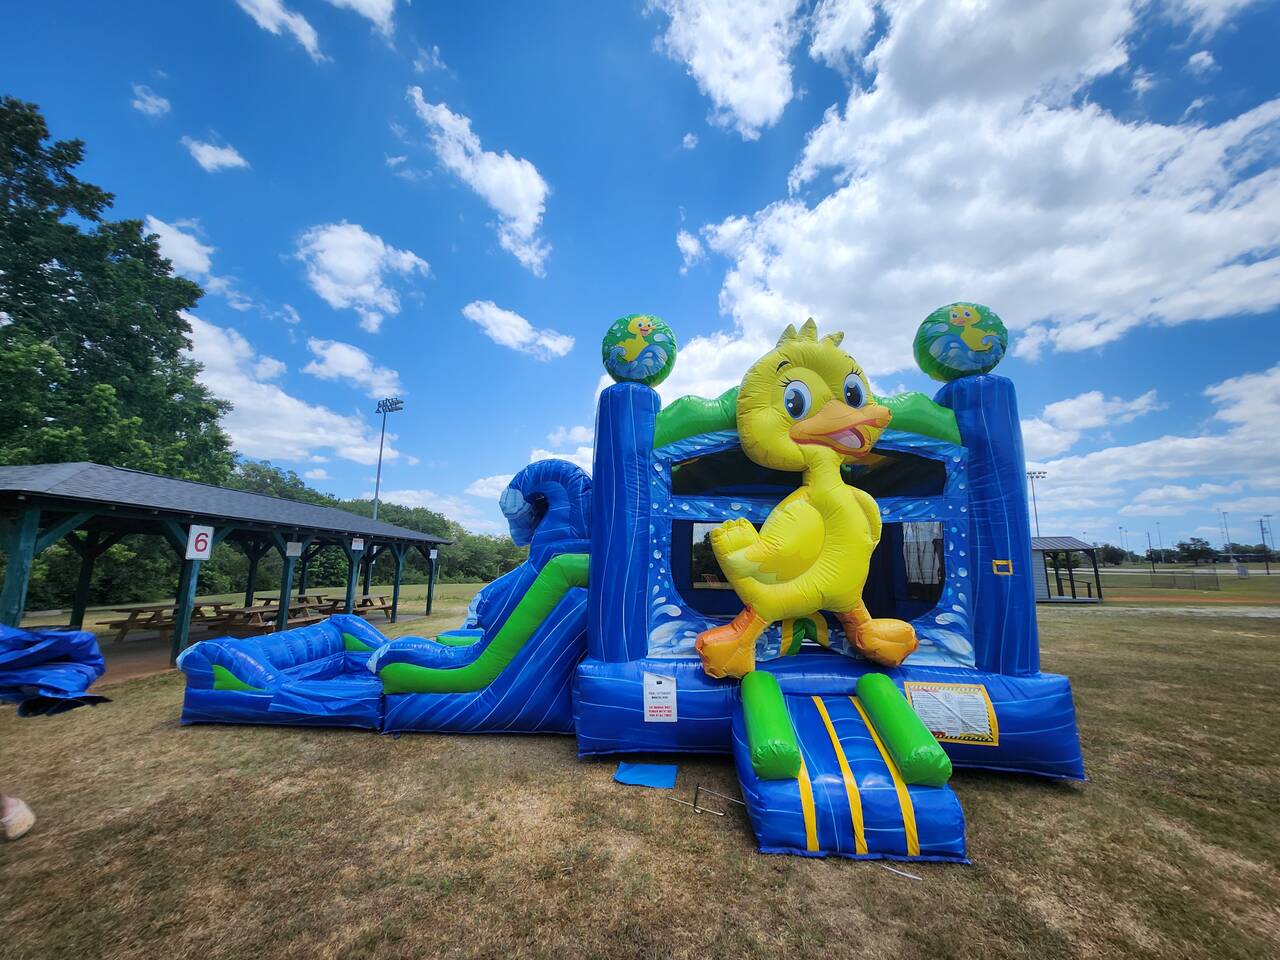
$140 base dailyAn open-play attraction that needs a complete anchor, blower, entrance, line, exit, and supervision area.
View the actual rentalEvent site-map guide
Make one site map before you finalize the rental lineup. Mark building exits, emergency and service access, parking and vehicle routes, and other areas that must stay open. Then place each exact inflatable with its approved anchors, blower, entrance, exit, line, return path, utilities, and adult supervision zone. Do not use a catalog photo or a guessed footprint as the final layout; Wow and the venue must confirm the real equipment and site plan.
Key TakeawaysReviewed by: Wow Inflatables catalog and event-planning review · Last reviewed: September 22, 2026
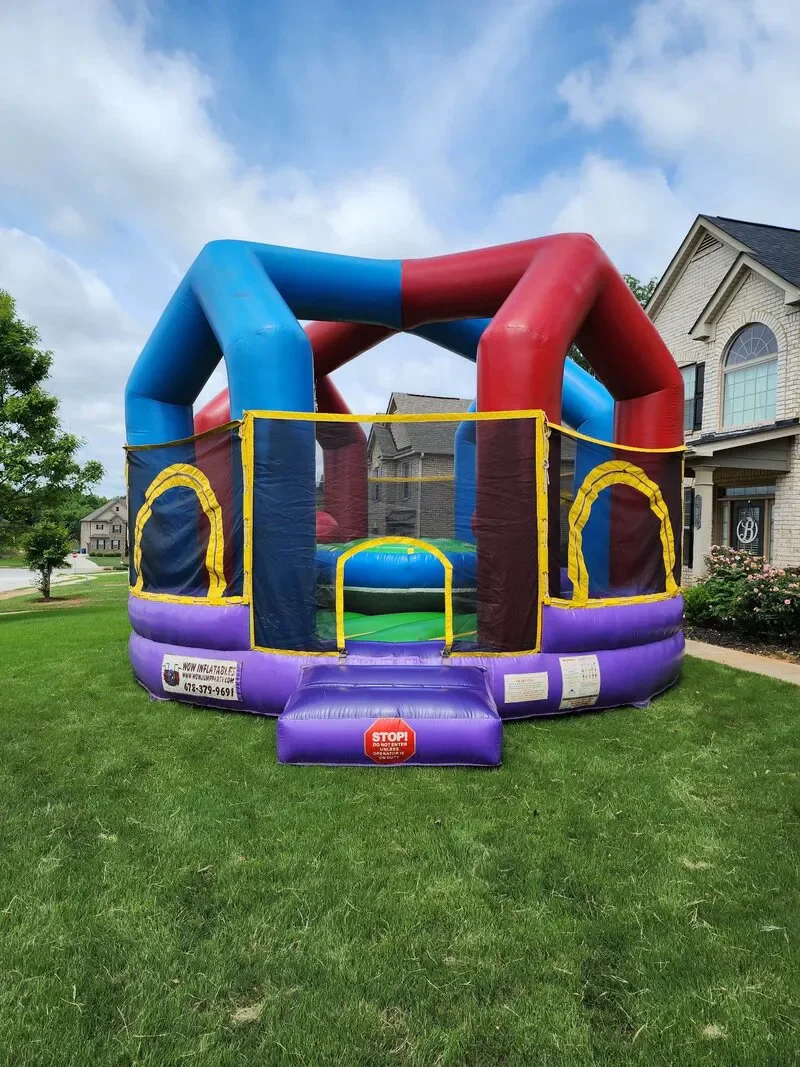
Real equipment, current prices
These real Wow rentals show why one generic rectangle is not enough. Prices are current base daily equipment prices; delivery and applicable county sales tax are separate. Use the exact selected unit and approved setup for the final map.
An open-play attraction that needs a complete anchor, blower, entrance, line, exit, and supervision area.
View the actual rental
An 18-foot dual-lane climb-and-slide attraction with a different height, landing, line, and exit plan.
View the actual rental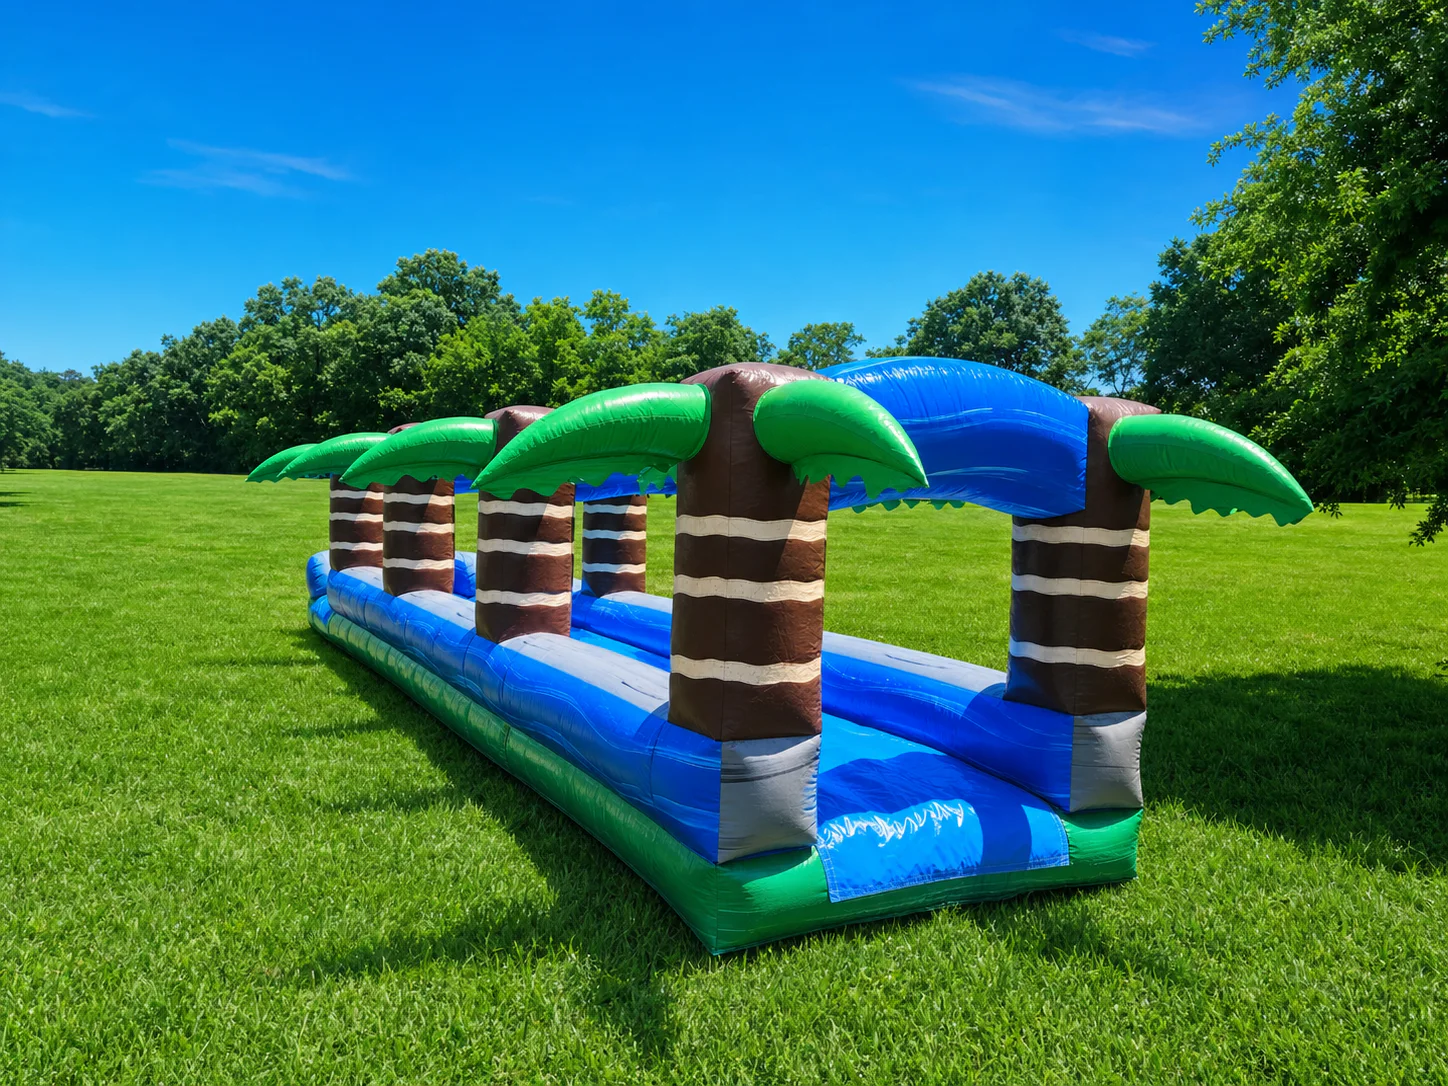
A long, lower-profile water attraction that needs a clear run, finish, return path, hose, and power plan.
View the actual rentalBegin with a simple drawing of the real property. Mark building doors and exits, emergency and service access, vehicle routes, parking edges, and any area the property manager says must remain open. These fixed limits come before the activity wish list.
Also mark slopes, trees, overhead lines, fences, gates, curbs, steps, drains, soft ground, indoor ceiling limits, and underground concerns. A large field or parking lot is not automatically one large usable setup area.
For a park or managed property, start with the permission and site-access checklist and the venue's written requirements.
The crew needs a continuous route from the delivery vehicle to every setup position. Measure the narrowest gate and note steps, sharp turns, curbs, landscaping, mud, locked doors, elevators, and distance from unloading to the activity area.
Do not place tables, tents, parked cars, decorations, vendor booths, or guest lines in that route before delivery. If access changes after the plan is reviewed, tell Wow before the rental date rather than waiting for the crew to arrive.
Use the delivery and setup checklist to prepare the site contact, route, schedule, utilities, and handoff.
A unit's visible inflatable body is only part of the layout. The installed area also includes the approved anchors, blower, entrance, exit, landing or runout, and the working room specified for that equipment. Leave the final placement to the confirmed unit and setup instructions.
Do not copy dimensions from a different model or move an attraction closer to another activity simply to make the map fit. If the complete station does not fit, change the equipment list or the site plan before promising the layout to guests.
Record usable dimensions and access with the space-measurement guide before selecting the final equipment.
Long, low slides need extra length. The Blue Lagoon Slip N Slide is one example: its catalog listing describes a sliding run longer than 30 feet.
For each station, draw where the line begins, where riders enter, where they exit, and how they return without walking through another line or landing area. Keep waiting guests and spectators outside the active setup zone.
A bounce house has open-play turns. An obstacle course has a directed start and finish. A tall slide has a climb, landing, and exit. A Slip N Slide has a long run and return path. Map the way the activity actually works rather than arranging only by color or theme.
If the event has several stations, use the event sizing guide to connect the layout to groups, schedules, and transitions.
Identify the actual power source, distance, approved cord route, water connection when needed, hose route, and any generator position that the venue and Wow accept. The final plan depends on the exact blowers and equipment selected.
Do not create an unapproved connection or run a cord or hose through guest traffic because the activity was drawn too far from its utility. Revise the layout when safe routing and the equipment requirements do not match the first sketch.
Prepare the complete equipment list with the power and generator guide; water attractions also need the water-slide setup checklist.
Write a supervisor position beside every active entrance, play area, exit, and line that needs attention. One adult should not be assigned to watch several separated attractions when walls, crowds, tents, or other equipment block the view.
Add relief coverage and a clear stop-use contact to the plan. If the organizer cannot staff all stations responsibly, open fewer activities at once or simplify the equipment lineup.
Turn the drawing into an operating plan with the active-supervision checklist.
Share the plan with the venue contact and Wow before the event when the site, access, utilities, or document requirements are complex. Availability and the exact equipment must still be confirmed for the date.
On delivery day, show the crew the real setup area and complete the handoff before guests enter. Do not move the inflatable, anchors, blower, cords, or hoses after setup. Keep emergency access and the agreed operating zones clear throughout the event.
Apply the map to a school field day, church or community event, or company event only after the venue and exact equipment are confirmed.
This guide combines current Wow equipment, delivery, space, utility, and supervision guidance. It does not approve a venue, promise availability, replace the selected equipment's instructions, or override the property owner's requirements.
Direct answers
Use these answers as a starting point, then confirm the real equipment and site with the team.
There is no safe universal spacing number for every lineup. Use the exact equipment's installed requirements, anchors, blowers, entrances, exits, landing areas, lines, and venue limits. Wow must confirm the final setup rather than applying one generic distance.
Place the line outside the active setup and landing areas, where the assigned adult can see it. Keep it out of delivery routes, vehicle traffic, building exits, another attraction's exit, and utility paths.
Do not assume a guest crossing is acceptable. Show the proposed route to Wow and the venue, use only the approved power and water plan, and revise the layout when traffic and utilities conflict.
No. Do not move the inflatable, anchors, blower, cords, or hoses after the crew completes setup. Contact Wow if the agreed area becomes unavailable or unsafe.
Yes. Mark required exits, emergency routes, service access, and other property no-block areas before placing activities. Confirm the final requirements with the responsible venue contact.
Send the event date, full address and county, venue contact, exact equipment list, usable measurements, surface, gates and delivery route, overhead concerns, power, water when needed, line and exit plan, supervision zones, and any venue or document requirements.
Talk through the setup
Call the Wow Inflatables team with the date, guest ages, event address, county, and a few site details. We can help you narrow the choices before you check availability.
Answer first